Start Your Project
Curious how the process works for your kitchen?
Free 30-minute consultation at our showroom. We'll walk you through templating, fabrication, and install, and give you a realistic timeline.
★★★★★ 5.0 · 586+ Google reviews · Family-owned since 2008
Understanding Kitchen Work Triangles and Zones
The classic kitchen work triangle (positioning the sink, stove, and refrigerator in a triangular layout with sides between 4-9 feet) has guided kitchen design for decades. While modern kitchens have evolved beyond strict triangles into work zones, the principle remains valuable: efficient movement between primary work areas. Your countertop configuration should support these work zones seamlessly. Most functional kitchens have three to five distinct zones: preparation (main countertop workspace), cooking (range and adjacent landing space), cleaning (sink with surrounding counter), storage (refrigerator with landing counter), and often a serving or baking zone. In Palm Beach County, where open-concept living is standard and kitchens serve as entertainment spaces, we're increasingly designing for dual work zones, allowing two people to work simultaneously without interference. Your countertop material choices, seam placement, and overall layout should enhance workflow efficiency. Before finalizing countertop plans, honestly assess how you use your kitchen. Do you cook from scratch daily? Entertain frequently? Need homework space? Your layout should reflect real behavior, not aspirational ideas.
L-Shape Kitchens: Maximizing Corner Efficiency
L-shape layouts feature countertops and cabinets along two perpendicular walls, creating an efficient, open configuration ideal for small to medium kitchens. This layout naturally creates a work triangle and leaves floor space open for dining or traffic flow. The critical design consideration is the corner. Standard 90-degree corners create dead space in base cabinets; lazy Susans, pull-out organizers, or diagonal corner cabinets maximize this area. For countertops, the corner is a natural seam location. We position seams along the inside or outside corner depending on the material and visual preference. Most slabs are 120 inches by 55-65 inches, so an L-shape kitchen with legs under 10 feet can often be fabricated from a single slab with just the corner seam. For longer runs, we'll add a second seam positioned strategically near the sink or range where it's less visible. L-shapes work beautifully for single cooks, offering everything within easy reach. The open side accommodates peninsula extensions or islands, creating additional workspace. In Boca Raton and Delray Beach condos, we install dozens of L-shape kitchens annually. They're efficient and budget-friendly since the layout minimizes countertop square footage.
See the Slabs
Want to see what this looks like in your kitchen?
500+ slabs in our Boynton Beach showroom. Browse the live inventory or book a private viewing.
U-Shape Kitchens: The Efficient Workhorse
U-shape kitchens feature countertops along three walls, creating maximum counter space and storage in a contained footprint. This layout excels at keeping everything within a few steps, the ultimate efficiency for serious cooks. U-shapes require adequate width to avoid feeling cramped; we recommend at least 8 feet between opposing counters to allow cabinet doors and drawers to open fully while leaving walking space. The U-shape creates two corners, each requiring thoughtful planning both for cabinetry access and countertop seams. We typically position primary work zones along the base of the U, with the sink centered and the range to one side. The two perpendicular legs house the refrigerator and pantry storage. From a countertop perspective, U-shapes require careful seam planning. For smaller U-shapes (each leg under 10 feet), we can often fabricate from two slabs with seams at the corners. Larger kitchens require three slabs. We prioritize placing seams at corners rather than mid-run where they're more noticeable. U-shapes are generous with workspace, easily 20-30 linear feet of counter, but this translates to higher material costs. The trade-off is exceptional functionality and resale value.
Galley Kitchens: Making the Most of Linear Layouts
Galley or corridor kitchens feature parallel countertops separated by a walkway, common in older homes, apartments, and townhomes where space is limited. Despite their compact footprint, galley kitchens can be highly efficient. Everything is literally within arm's reach. The critical dimension is walkway width: 42-48 inches is ideal, allowing cabinet doors to open on both sides with comfortable passage. Narrower galleys (36-40 inches) work for single cooks but feel tight when two people are working. From a countertop standpoint, galley layouts are straightforward and economical. Each side is typically a single straight run, often under 10 feet, meaning each can be fabricated from one slab with no seams. This is one of the most cost-effective layouts for premium materials. You get a luxurious look without extensive square footage. Design considerations: keep the primary work triangle tight by positioning the sink on one side with the range or cooktop opposite, and the refrigerator at one end. Ensure adequate landing space beside each appliance. In galley kitchens, we often recommend carrying the countertop material up the wall as a full-height backsplash on one end wall, creating a dramatic focal point that emphasizes the length of the space.
Kitchen Islands: Designing the Heart of Your Kitchen
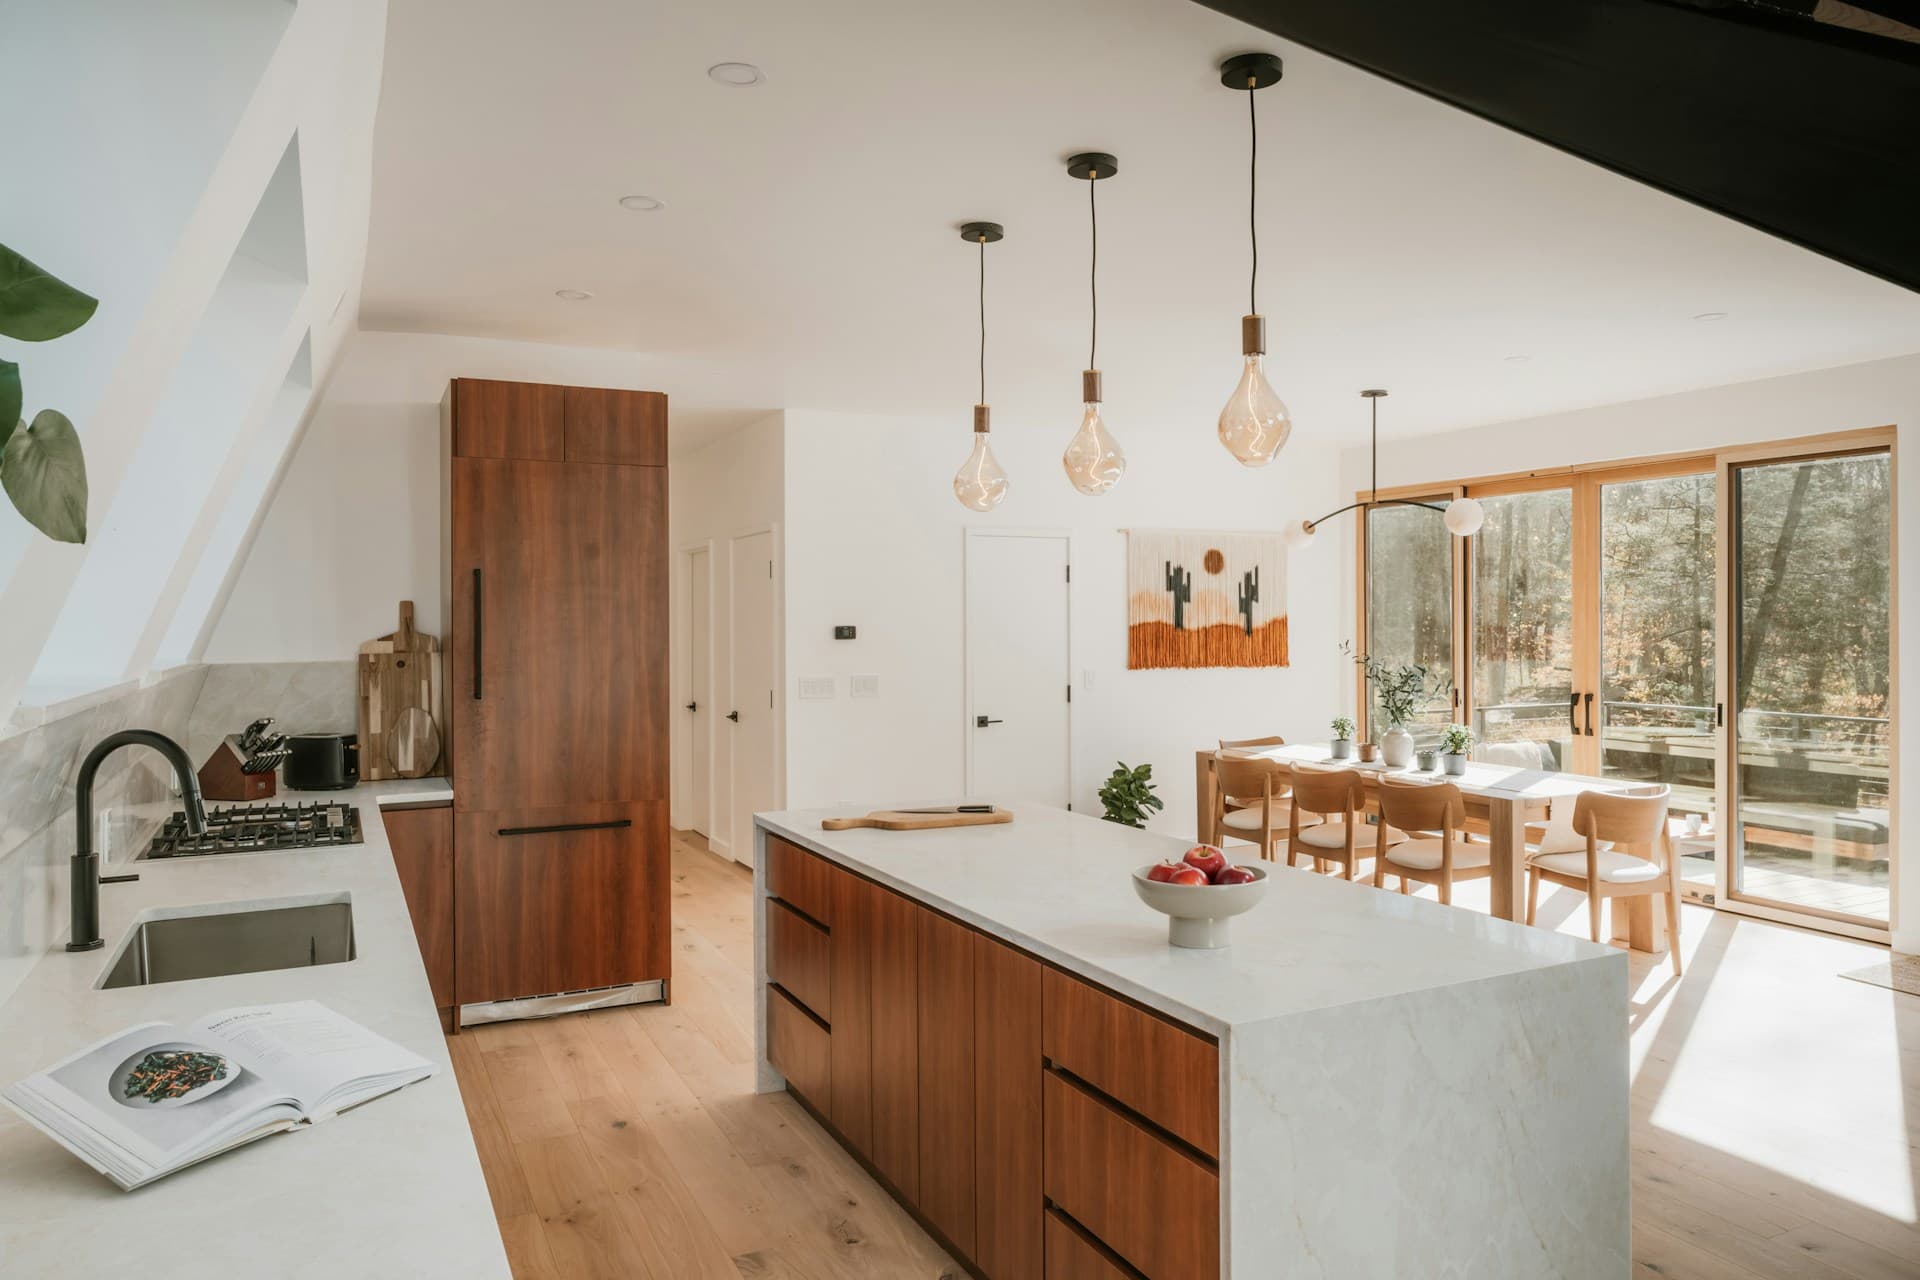
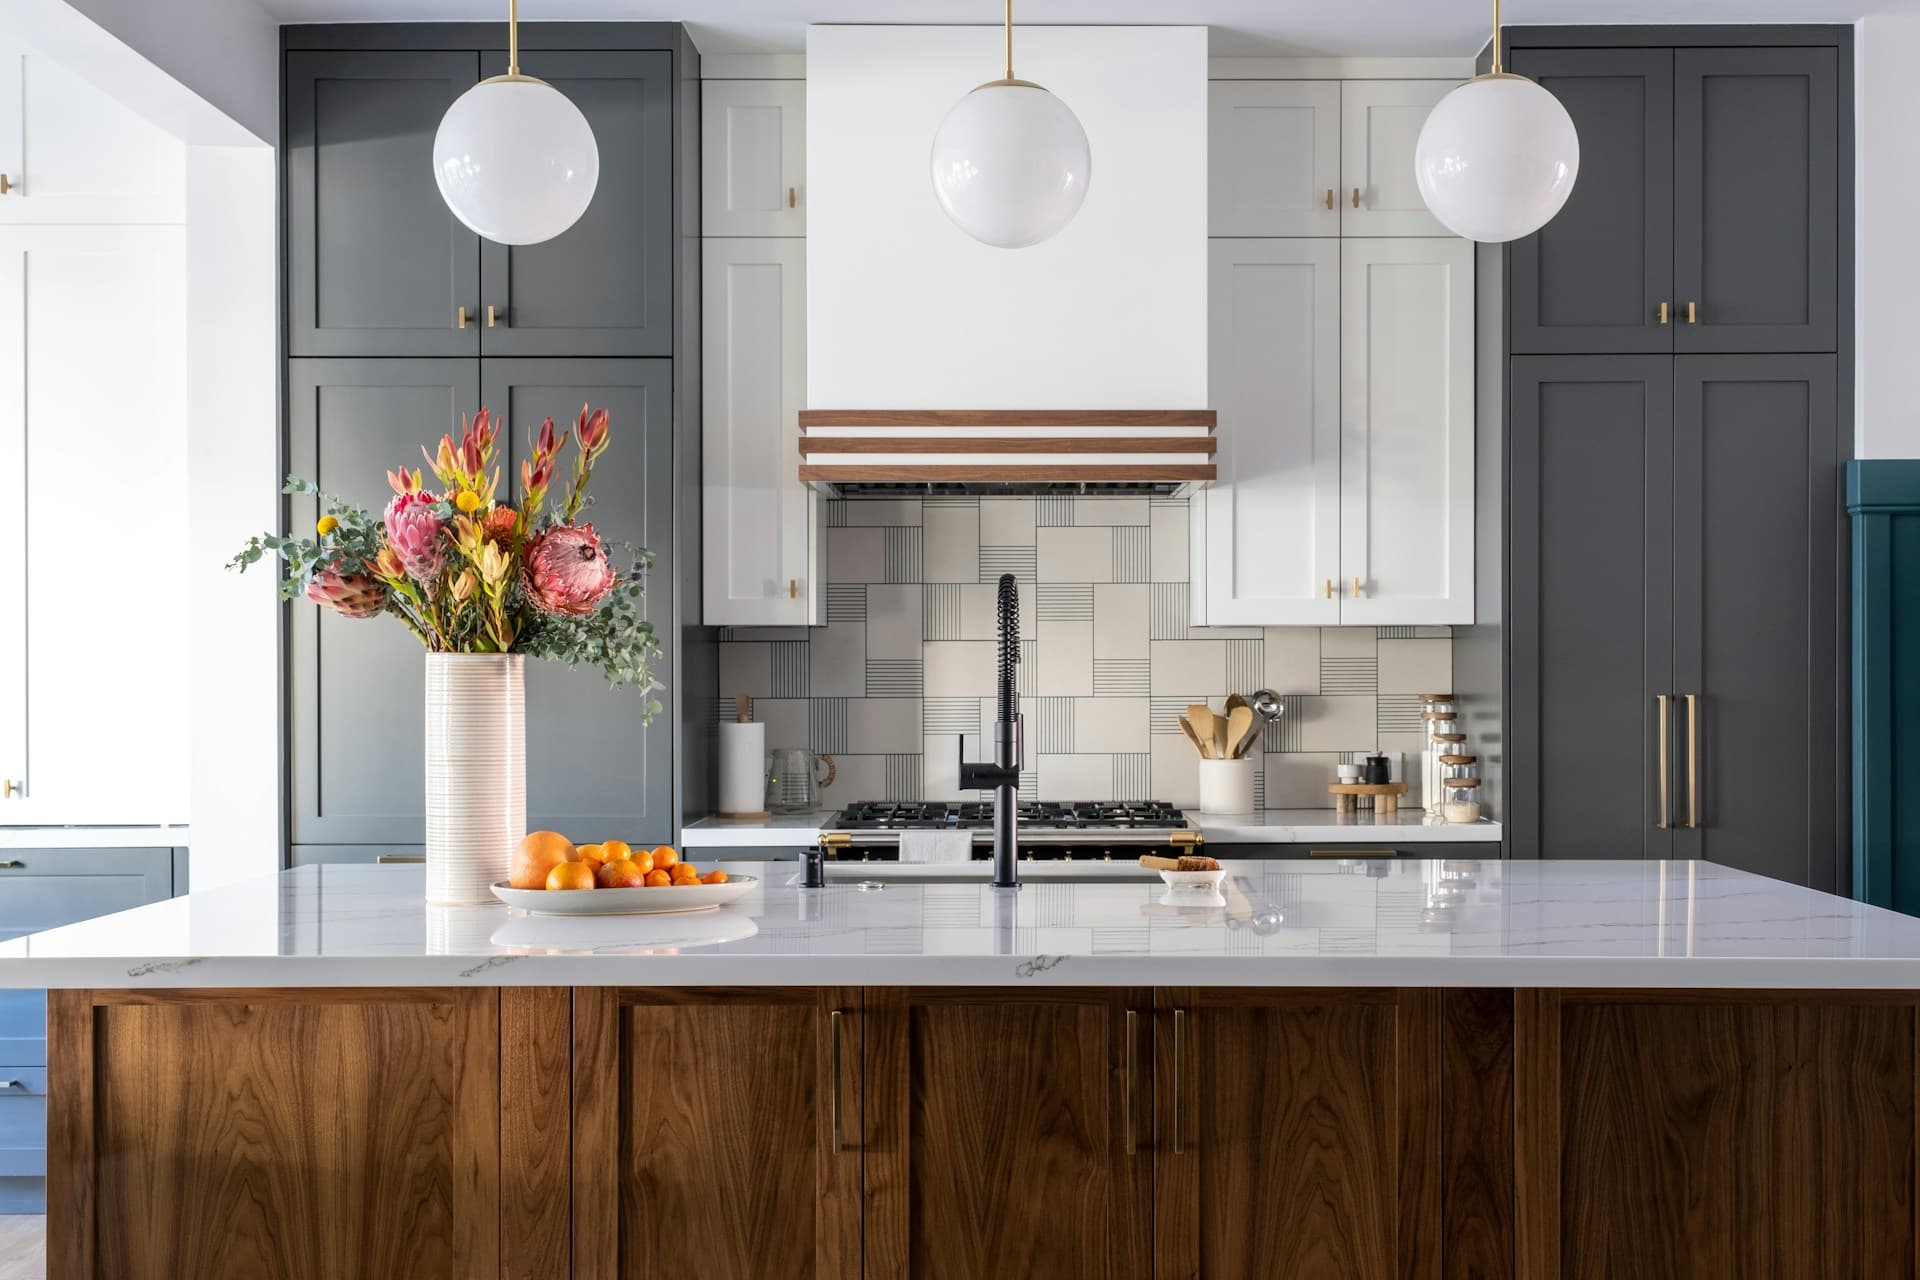
Kitchen islands have evolved from simple prep spaces to multifunctional centers for cooking, eating, working, and socializing. Island size and configuration require careful planning. Minimum recommended dimensions are 4 feet by 2 feet, providing useful workspace without overwhelming the kitchen. Larger islands (6-8 feet or more) accommodate seating, second sinks, cooktops, or beverage centers. Allow at least 42 inches of clearance around all sides for comfortable traffic flow; 48 inches is better if multiple cooks use the space. From a countertop perspective, islands offer exciting design opportunities. Many clients use a different material on the island versus perimeter counters: granite on the perimeter with marble or quartzite on the island creates visual interest and defines zones. If your island includes seating, consider counter overhang requirements: 12 inches for knee space, 15 inches for more comfort. Overhangs beyond 10-12 inches require support brackets or corbels. For islands with cooktops or sinks, plan carefully for seam placement around cutouts. These create stress points. We reinforce heavily around island features. Popular island trends in Palm Beach County include waterfall edges (countertop material extending down the sides), integrated charging stations, and dedicated beverage prep zones with small sinks and wine storage.
Seam Placement Strategy for Each Layout
Seams are inevitable in most kitchen countertop installations. Standard slabs simply aren't large enough to cover entire kitchens in one piece. Strategic seam placement minimizes visibility and maintains structural integrity. For L-shapes, we position seams at the corner, either on the inside or outside depending on viewing angles. For U-shapes, both corners get seams, and if a third is needed, we place it near the sink or range where it's naturally hidden by fixtures. In galley kitchens, seams are often unnecessary, but if required due to length, we position them near the sink or at a natural breaking point like a pantry cabinet. For islands, we avoid seams when possible; most islands under 8 feet fit within a single slab's dimensions. Longer islands require seams, which we position at functional breaks, not in the middle of a seating area. Seam orientation matters: we position seams perpendicular to sightlines when possible so you look along the seam rather than across it. Color matching is critical. We select slabs from the same bundle when possible to ensure vein matching at seams. For quartz and other engineered materials with consistent patterning, seams are nearly invisible. Natural stone requires more care due to variation.
Planning Your Kitchen Layout for Countertop Success
Successful countertop installation begins with accurate layout planning weeks before installation. Start by evaluating your current kitchen's weaknesses: insufficient prep space near the stove, awkward corner access, seating that disrupts workflow, or wasted square footage. A kitchen designer or experienced fabricator can suggest layout modifications that dramatically improve function. Even without moving walls, repositioning the sink, reducing or enlarging the island, or converting a U-shape to an L-shape with island can transform usability. Once the layout is established, focus on material selection appropriate to each zone. High-traffic prep areas benefit from durable granite or quartzite. Baking zones might feature marble inserts. Eating bars can showcase dramatic patterns since they're display spaces, not work surfaces. Our team provides detailed layout appointments at our Boynton Beach showroom, reviewing your floor plan and suggesting optimizations. We'll discuss appliance placement, seam locations, edge profiles for safety and style, and overhang dimensions. We template after cabinets are installed but before final appliance placement, ensuring perfect fits. Visit countertopspalmbeach.com/book-viewing to schedule your layout appointment. Let's design a kitchen that works as beautifully as it looks.