Start Your Project
Curious how the process works for your kitchen?
Free 30-minute consultation at our showroom. We'll walk you through templating, fabrication, and install — and give you a realistic timeline.
★★★★★ 5.0 · 559 Google reviews · Family-owned since 2008
Why Seams Matter More Than You Think
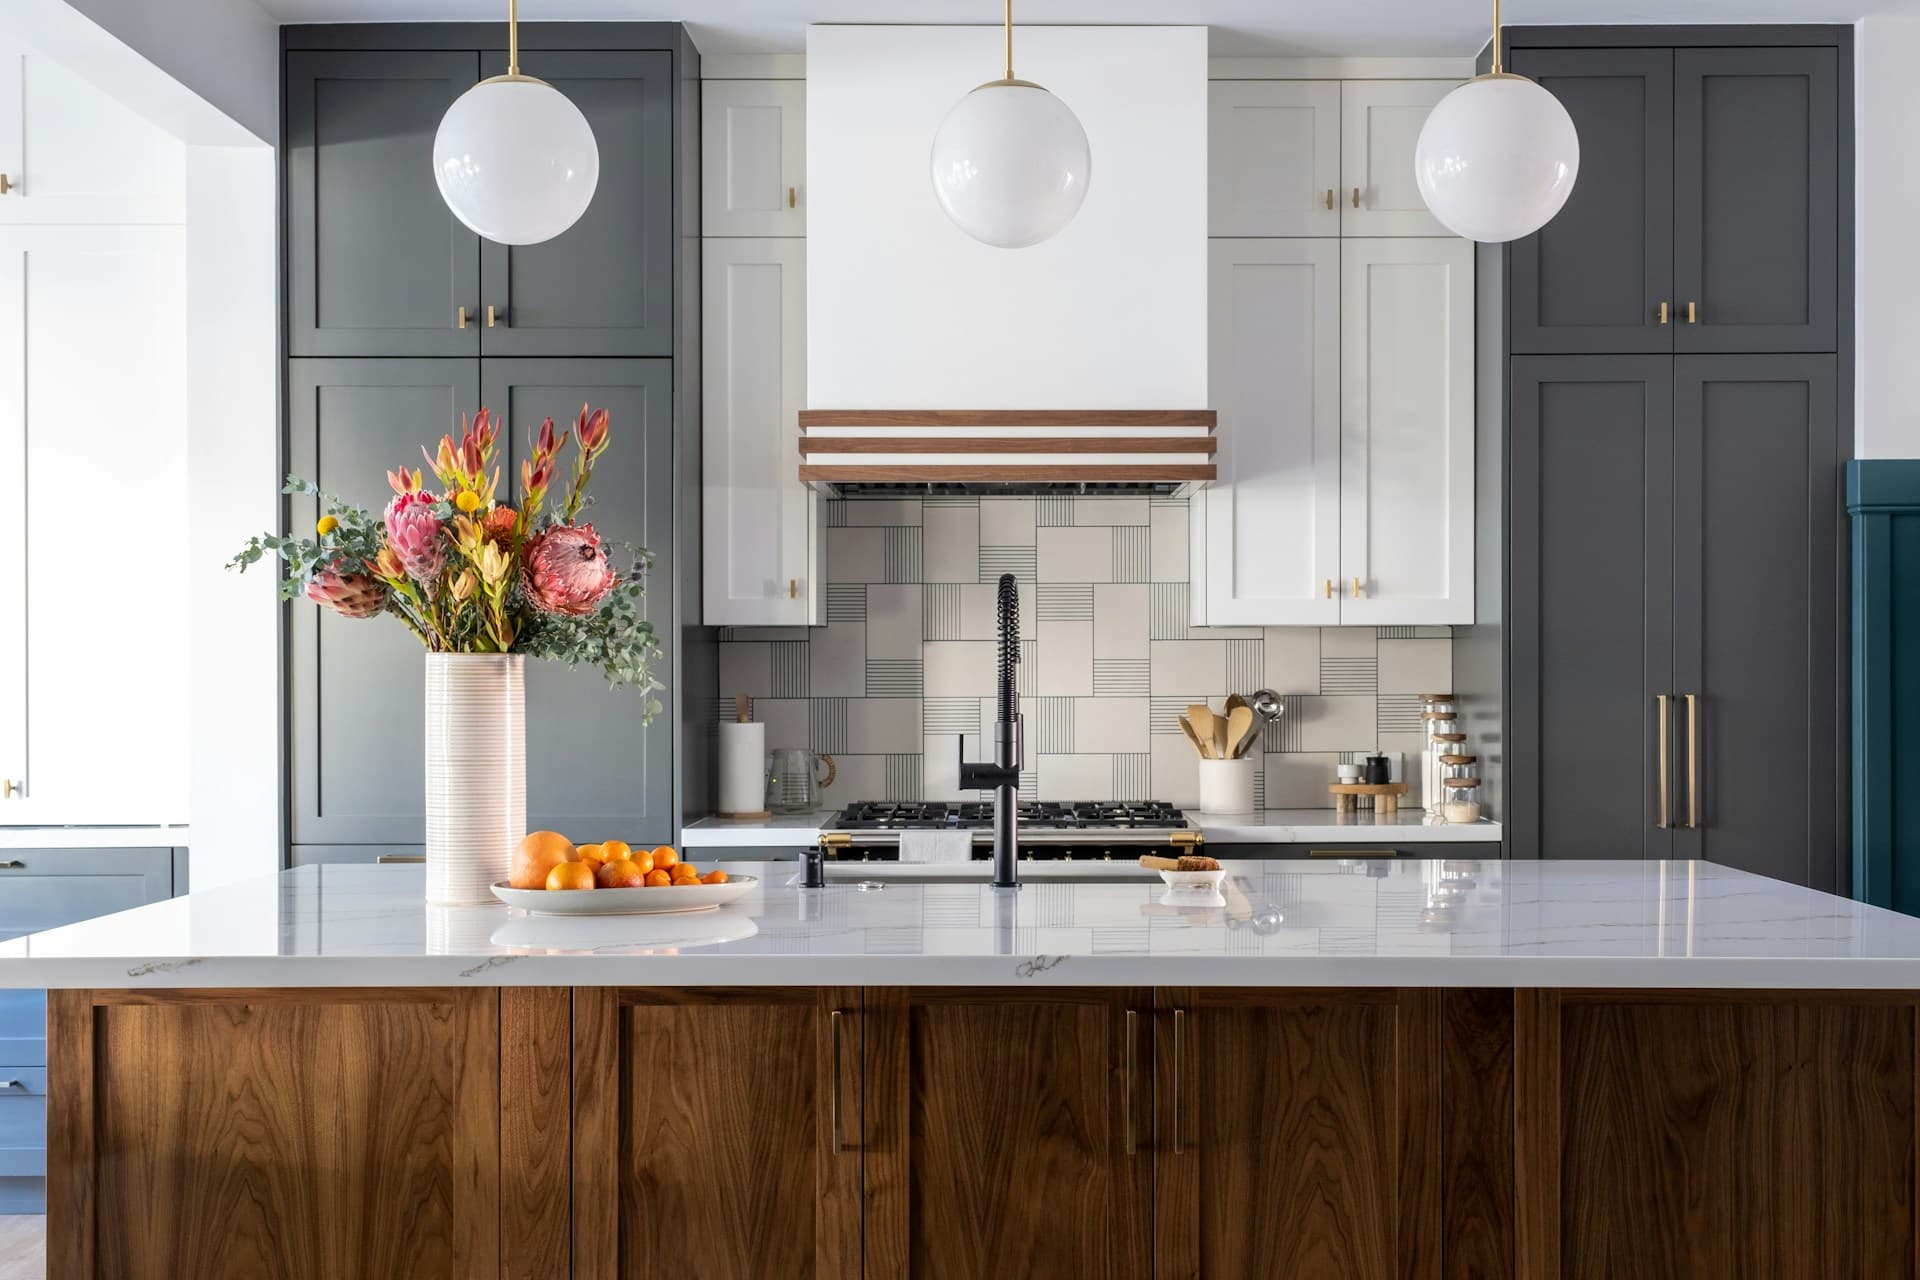
In an ideal world, every countertop would be cut from a single piece of stone with no seams interrupting the visual flow. In reality, stone slabs come in maximum sizes of approximately 120 inches by 75 inches, and most kitchens exceed those dimensions in at least one direction. This means seams are inevitable in the majority of installations. However, where those seams land, how carefully they're matched and aligned, and the precision of the joining process separates amateur fabrication from true craftsmanship. A poorly placed seam catches your eye every time you enter the kitchen; a well-executed seam virtually disappears. Over two decades fabricating countertops throughout Palm Beach County, we've developed seam strategies that minimize visual impact and structural concerns. We've also repaired countless installations where other fabricators placed seams thoughtlessly—over dishwashers where heat causes movement and separation, in the middle of high-traffic islands where they're constantly visible, or with such poor color-matching that the two sides look like different materials. Understanding the art and science of seaming helps you evaluate fabricators during selection and set realistic expectations for your own installation.
Strategic Seam Placement: The Planning Phase
Seam placement begins during templating, not installation day. Our team arrives with your kitchen's measurements and a deep understanding of slab dimensions to plan cut patterns that minimize seams and place unavoidable ones in low-impact locations. The hierarchy of seam placement prioritizes: corners where seams are naturally expected; over sinks where the cutout breaks up the visual plane; near cooktops or ranges where built-in appliances interrupt the countertop anyway; and along natural architectural breaks like where counters turn 90 degrees. We avoid seams in the middle of long, uninterrupted runs; directly in front of primary work zones; and especially in island centers where seams are at eye level for anyone seated at the counter. For L-shaped kitchens, the seam typically lands in the corner; for U-shaped layouts, we need two seams but carefully position them to minimize visibility from the room's primary entrance. In Wellington and Boca Raton homes with large islands, we often orient slabs to maximize the seamless section in the main working area, accepting a less-ideal seam placement in a secondary location. This planning phase is where fabricator expertise shows—we've templated thousands of kitchens and can predict how different seam strategies will look and perform years after installation.
Free Estimate
Want to see what this looks like in your kitchen?
500+ slabs in our Boynton Beach showroom. Get a quick estimate or book a private viewing.
Material Matching: The Art of Invisible Seams
Even perfectly positioned seams are visible if the stone on either side doesn't match in color, pattern, and veining direction. For uniform materials like solid-color quartz or consistent granite, matching is relatively straightforward. But for dramatic natural stones like Calacatta marble, exotic quartzites, or highly figured granites, matching requires artistic judgment. We photograph every slab before cutting and use digital mockups to show clients exactly how veining will flow across the counter and where seams interrupt that flow. For book-matched or premium slabs, we sometimes orient pieces to create mirror-image symmetry across seams, turning a potential weakness into an intentional design feature. During fabrication, we dry-fit seam sections repeatedly, sometimes rotating pieces by fractions of degrees until the pattern flows as naturally as possible. Color variation within even a single slab can be significant—one end might read warmer or darker than the other—so we carefully consider which sections go where. In Jupiter and Delray Beach installations featuring exotic materials, we've spent hours on seam-matching alone, understanding that this precision is what allows clients to stop seeing the seam within weeks of installation as their eyes accept the join as part of the stone's natural pattern.
The Physical Seaming Process: Precision Engineering
The actual joining process happens on-site during installation and requires both precision tools and experienced hands. First, we verify that cabinet tops are perfectly level—seams can't pull tight if one side is higher than the other. Then we dry-fit the sections, checking for gaps and ensuring edges are perfectly aligned vertically and horizontally. Modern seaming uses color-matched epoxy that's carefully tinted to match the stone; for white marbles we might add pure white pigment, for dark granites we add black or gray. The epoxy is applied to both edges, the sections are clamped together using hydraulic seam-pullers that can apply thousands of pounds of pressure, and we spend as long as necessary micro-adjusting until the seam meets our standards. For materials like quartzite with prominent veining, we might spend 30-45 minutes on a single seam, comparing the join from multiple angles and in different lighting. Once the epoxy cures (typically 30-60 minutes depending on temperature), we remove excess material and polish the seam area to match the stone's original finish. The entire seam should be invisible to touch—running your hand across it should reveal no ridge or depression—and nearly invisible to the eye at normal viewing distances.
Special Seam Considerations for Different Materials
Different countertop materials present unique seaming challenges. Marble and quartzite, being natural and variable, require the most artistic matching but can achieve the most invisible seams when done well because their natural variation helps disguise joints. Granite's typically busier patterns can actually hide seams more easily, though highly figured exotics still need careful attention. Quartz, being engineered and consistent, should theoretically seam easily, but its very uniformity means even slight misalignment is obvious—and the resin content requires different epoxy formulations than natural stone. We use specialized adhesives for quartz that bond with the polymer binders, and we're extremely careful with temperature during seaming because quartz has different expansion rates than natural stone. Porcelain slabs, increasingly popular, are the most challenging to seam due to their thinness (often only 12mm versus 30mm for stone) and brittleness—they require specialized support during the seaming process. In Boca Raton high-rise condos where we install significant amounts of porcelain, we've developed techniques using structural backing and specialized clamps to handle these delicate materials. Whatever material you choose, ensure your fabricator has extensive experience with that specific type—seaming techniques aren't universally transferable.
Setting Realistic Expectations and Evaluating Results
Even expert fabrication can't make seams disappear entirely on highly figured materials viewed in perfect lighting from close distances. Setting realistic expectations prevents disappointment: seams in natural stone will be visible upon close inspection, but they should not be the first thing you notice when entering the room. From normal standing or sitting positions, a well-executed seam should be difficult to locate. Run your hand across the seam—you should feel no ridge, lip, or depression. Look at the seam from different angles and lighting conditions, including under cabinet lighting at night and natural light during the day. Check that the pattern and veining flow logically, even if not perfectly, across the join. For quality assurance, we photograph all seams after installation and check back with clients 30-60 days post-installation to ensure no separation has occurred and satisfaction remains high. In the rare cases where seams don't meet our standards, we'll re-cut and re-install sections—our reputation depends on every installation representing our best work. When interviewing fabricators for your project, ask to see photos of previous seamwork, inquire about their seam-planning process during templating, and if possible, visit completed installations to evaluate seams in real-world conditions. The fabricator's seamwork quality is one of the most reliable indicators of overall craftsmanship. Ready to work with fabricators who treat seaming as both art and engineering? Contact us to discuss your project and see examples of our seamwork in our Boynton Beach showroom, where we maintain sample pieces showing seaming in different materials.